Build a machine learning web app in Python
Code along and deploy your first machine learning web application in 7 minutes.


Introduction
There has been a huge increase in the demand for data related jobs in the past few years.
Most aspiring data scientists either take data science courses, get a Master's degree, or enroll into a bootcamp to start their journey in the industry.
The skills taught at these places primarily revolve around machine learning.
When I first started learning data science on my own, I took multiple online courses on Udemy and Coursera. I learnt machine learning skills and built a foundation that predominantly revolved around modelling and algorithms.
However, in practice, most companies that build machine learning models need to deploy them. These models need to be put into production so that end-users can gain access to them.
The journey doesn't end with building machine learning models. Model creation is just the start. Deploying these models and scaling them so they are accessible to end-users is an incredibly important skill for data scientists to have.
Some companies even hire MLOps engineers for this purpose. These individuals specialize in model deployment, and their job revolves around putting machine learning models into production.
As a data scientist, however, it is still important to have at least a basic understanding of model deployment. Not all companies have a team that specializes in MLOps, so many data scientists are required to take care of the end-to-end process.
In this article, I will walk you through machine learning model building and deployment. This tutorial will cover three sections:
- Building the machine learning model
- Creating a web application with this model
- Deploying this model on Google Cloud Platform
We are going to build a simple sentiment analysis application. This app will get a sentence as user input, and return with a prediction of whether this sentence is positive, negative, or neutral.
Here's how the end product will look:
Step 1: Setup
You can use any Python IDE to build and deploy this app. I suggest using Atom, Visual Studio Code, or Eclipse. You won't be able to use a Jupyter Notebook to build the web application. Jupyter Notebooks are built primarily for data analysis, and it isn't feasible to run a web server with Jupyter.
Once you have a programming IDE set up, you will need to have the following libraries installed: Pandas, Nltk, and Flask.
Step 2: Building the app
Create a folder for this entire sentiment analysis project. Under your main folder, you will need to have the following files:
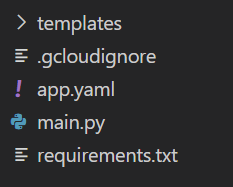
Let's go through these files one by one:
First, create the file called main.py. This is the file that will contain all your machine learning code.
Once that's done, copy and paste the following lines of code into your main.py file:
import pandas as pd
import nltk
from flask import request
from flask import jsonify
from flask import Flask, render_template

app = Flask(__name__)


@app.route('/')
def my_form():
    return render_template('index.html')

@app.route('/', methods=['POST'])
def my_form_post():
    text = request.form['text']
    nltk.download('vader_lexicon')
    from nltk.sentiment.vader import SentimentIntensityAnalyzer
    sid = SentimentIntensityAnalyzer()
    score = ((sid.polarity_scores(str(text)))['compound'])

    if(score>0):
        label = 'This sentence is positive'
    elif(score == 0):
        label = 'This sentence is neutral'
    else:
        label = 'This sentence is negative'

    return(render_template('index.html', variable=label))

if __name__ == "__main__":
    app.run(port='8088',threaded=False)
I chose to run this application on port 8088, but any empty port will work fine.
Before you run the app, create a folder called templates under your parent directory. Then, create one file within this folder called index.html:
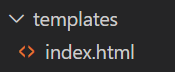
In the index.html file, type the following lines of code:
<!DOCTYPE html>
<html>
	<head>
  		<body>

    	<link rel='stylesheet' href='bootstrap.min.css'></style>
    	<link rel='stylesheet' href='font-awesome.min.css'></style>

  		<div class="container">
    	<div class = "centered">
           <header class="text-center text-white">
            	<title> sentiment analysis app </title>

            <h1 class = 'header'>
              Sentiment Analysis App
            </h1>

            <p class = 'desc'>
              Type a sentence, click on the submit button and wait for your 				prediction.
            </p>

            <form method="POST" onSubmit = 'return validate();' class='form'>
                <input name="text">
                <input type="submit" onclick = 'this.form.submit();'>
            </form>
            <br>
            <br>

            <p id='demo'>{{ variable }} </p>


            </div>
            </div>
            </head>
            </body>

    <style>

    .container {
      position: relative;
      text-align: center;
      color: white;
    }

    .header {
      color: black
    }

    p { color: #111; font-family: 'Helvetica Neue', sans-serif; font-size: 14px; line-height: 24px; margin: 0 0 24px; text-justify: inter-word; }

    h1 { color: #111; font-family: 'Helvetica Neue', sans-serif; font-size: 36px; font-weight: bold; letter-spacing: -1px; line-height: 1; text-align: center; }

    #demo {
      color: #111; font-family: 'Helvetica Neue', sans-serif; font-size: 22px; line-height: 24px; margin: 0 0 24px; text-justify: inter-word;
    }

    input[type=submit] {
      background-color: #f06237; /* Green */
      border: none;
      color: white;
      padding: 15px 32px;
      text-align: center;
      text-decoration: none;
      display: inline-block;
      font-size: 0.95em;
    }

    input[type=submit]:hover {
      background-color: #b0540e;
    }

    </style>

    </html>
The above lines of code will create the front-end of our application: the input text-box, description, and submit button.
Upon clicking the submit button, the output from the Flask app will be displayed on the screen.
In this case, the output will be positive, negative, or neutral, depending on the user's input.
Great!
We now have everything we need to run the Flask app locally.
Run the app on Python, and go to the location at which your application resides. In my case, for instance, it will be 127.0.0.1:8088.
You should see the app displayed on your screen:
You can play around with your app and enter random sentences as input, to check if the algorithm makes accurate predictions.
Step 3: App deployment
Now, it is time to deploy the app. We will do this on Google Cloud Platform.
If you aren't familiar with GCP, here's what you need to do to get started:
- Follow this tutorial and create a GCP account.
- You will be presented with an option to activate your GCP account. Click on 'activate.' You will be asked to enter your credit card details. However, you will not be charged. Once you create a GCP account you will get a free trial with $300 credit, and you won't be charged for the services you use unless you exceed that limit.
Now, follow these steps to deploy your app on GCP:
- First, go to the top of your page and click on the drop-down. You will see a screen that looks like this, listing all your past projects. This will be empty if you're new to GCP:
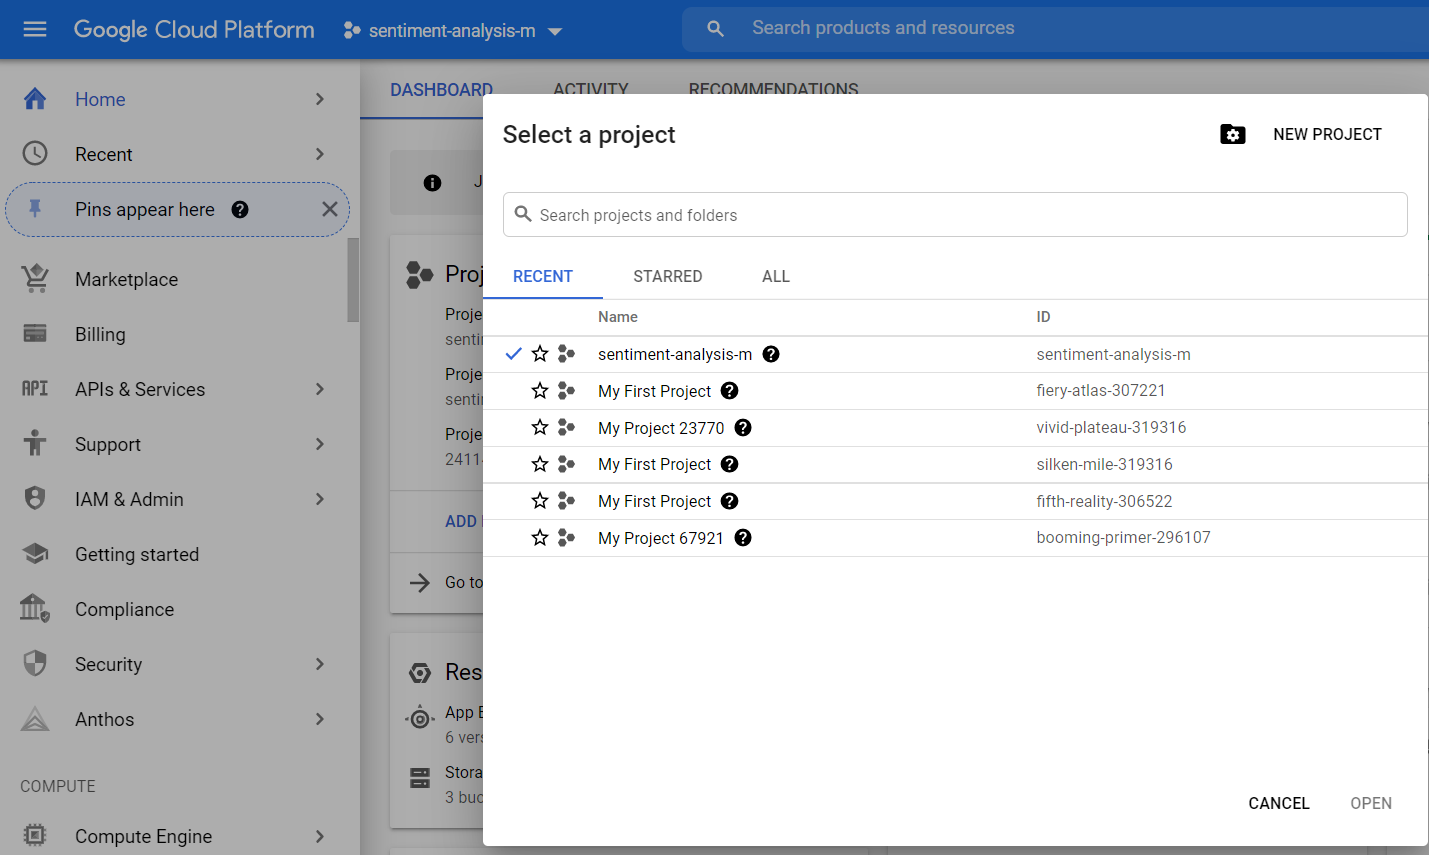
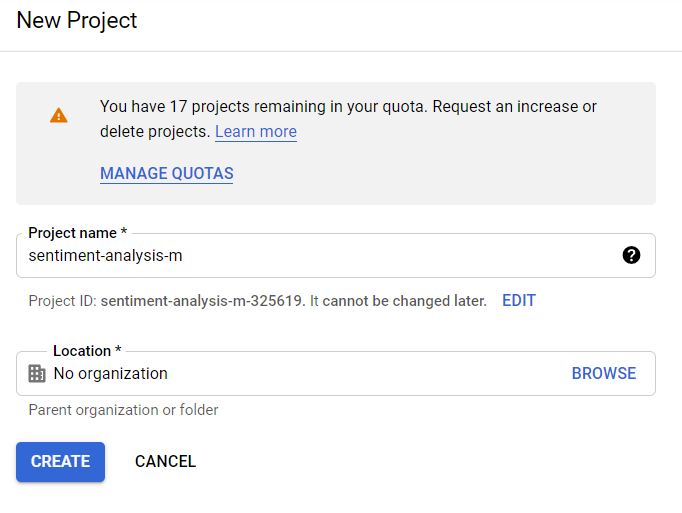
Click on New Project.
2. Change the name of the project to anything you like, and click on Create.
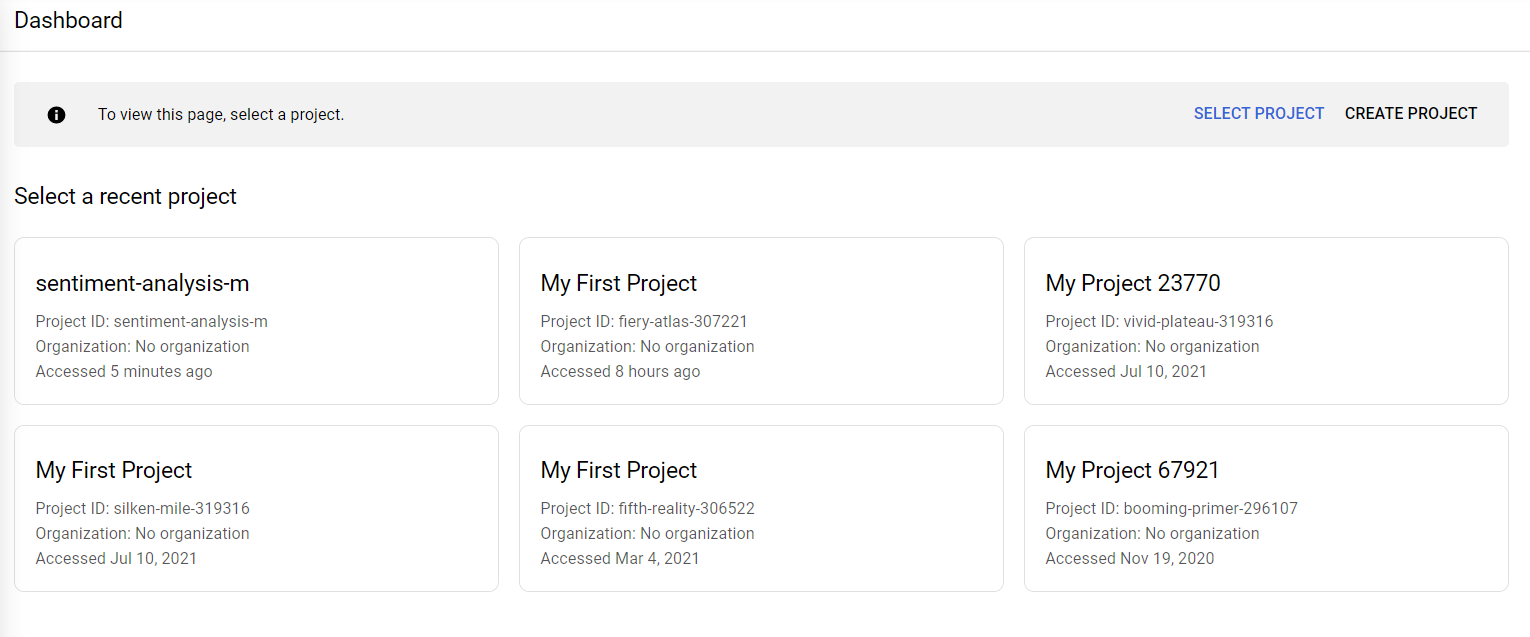
3. Go to home -> dashboard and check if the project you created is listed:
4. Now, you need to install the Google Cloud SDK. This will allow you to deploy your machine learning model on Google Cloud via your local command line. Simply click on this link and install the executable file, then continue clicking 'Next' until the installation is complete.
5. Create a file called app.yaml in your parent folder and type this:
runtime: python376. Now, create a file called requirements.txt in your parent folder and type the following into it:
pandas==1.3.2
nltk==3.6.2
Flask==2.0.1
7. Once that's done, check to ensure you have the following files in your parent directory: main.py, app.yaml and requirements.txt. Inside the templates folder, you should have an index.html file.
8. Open your local command prompt and navigate to the directory with your ML application. Then, type gcloud init into the command prompt:
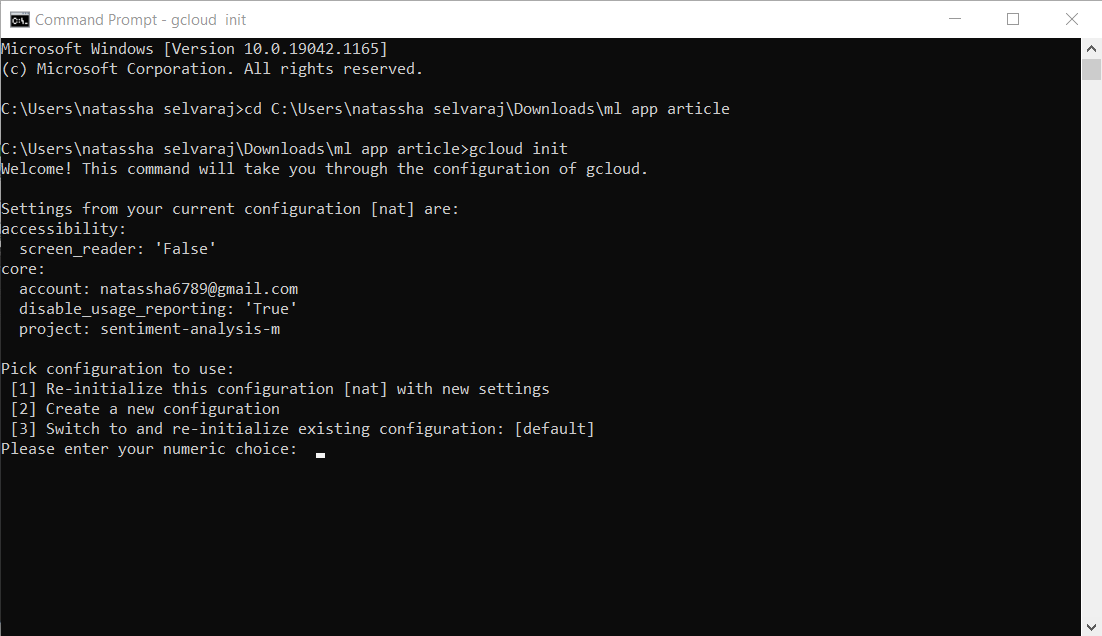
9. Select the numeric option for 'create a new configuration.' In my case, it is 2.
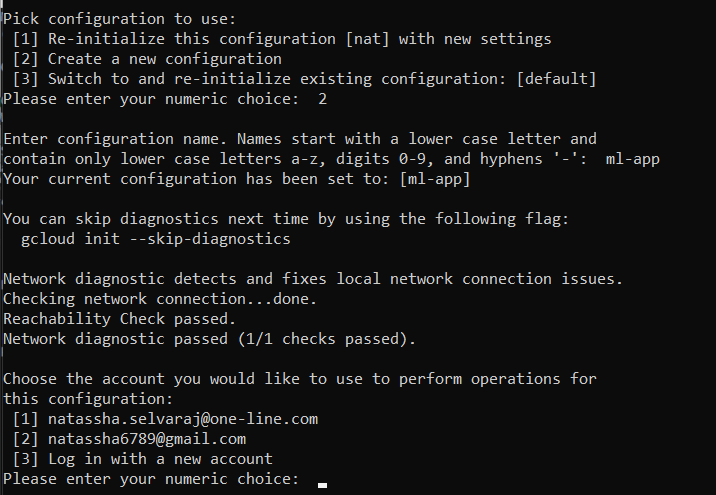
10. Then, choose the email address you'd like to use. Then, select the project you'd like to use. This will be the project you created earlier.
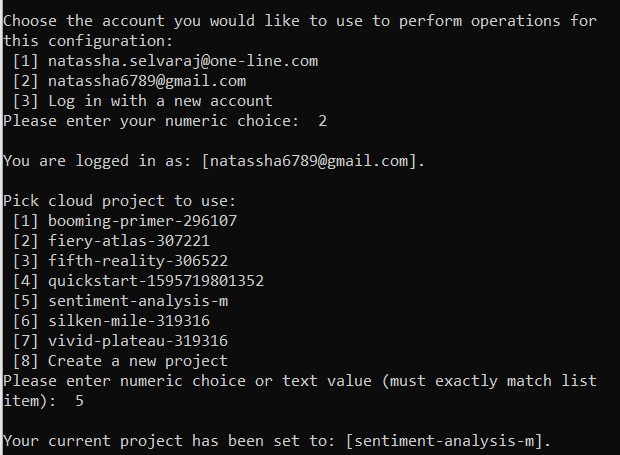
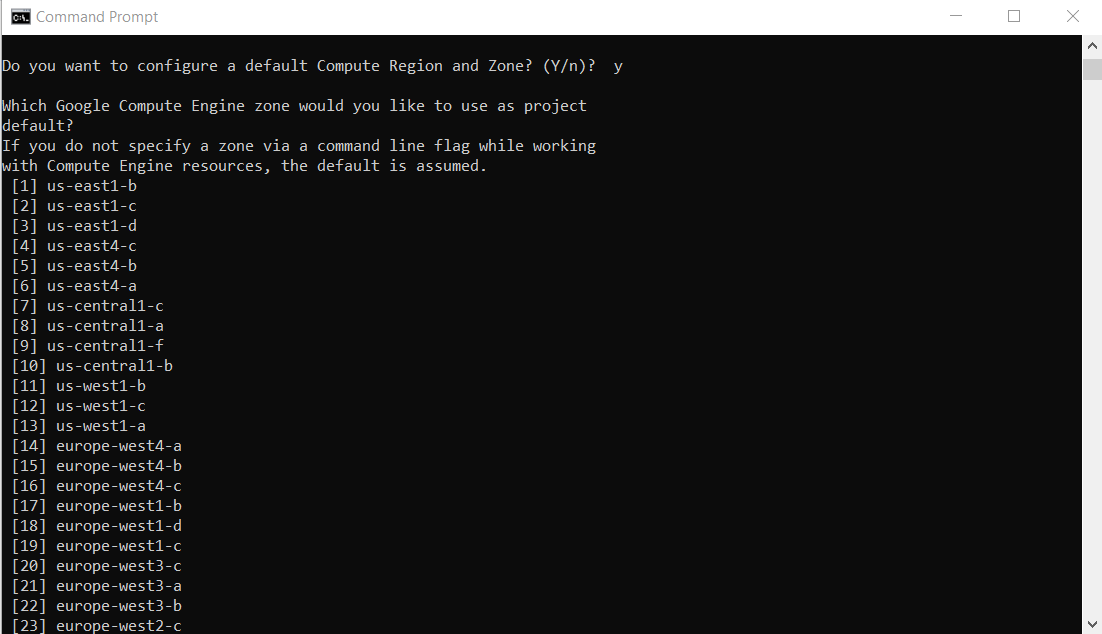
11. After that, you'll be asked to pick a zone for your Compute Engine VM. Any region is fine for the purposes of this app, just pick one.
12. Now, you can go ahead and type the command to deploy your app on Google Cloud. To do that, type:
gcloud app deploy app.yaml --project *your_project_name*For example:
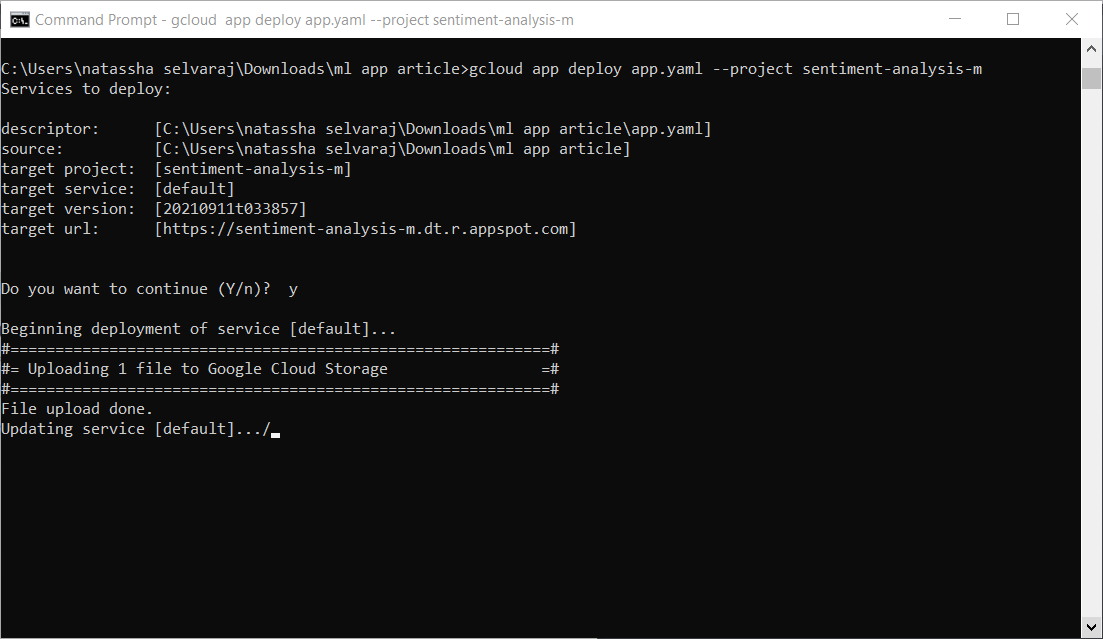
Now, wait until the deployment is complete. This will take a few minutes.
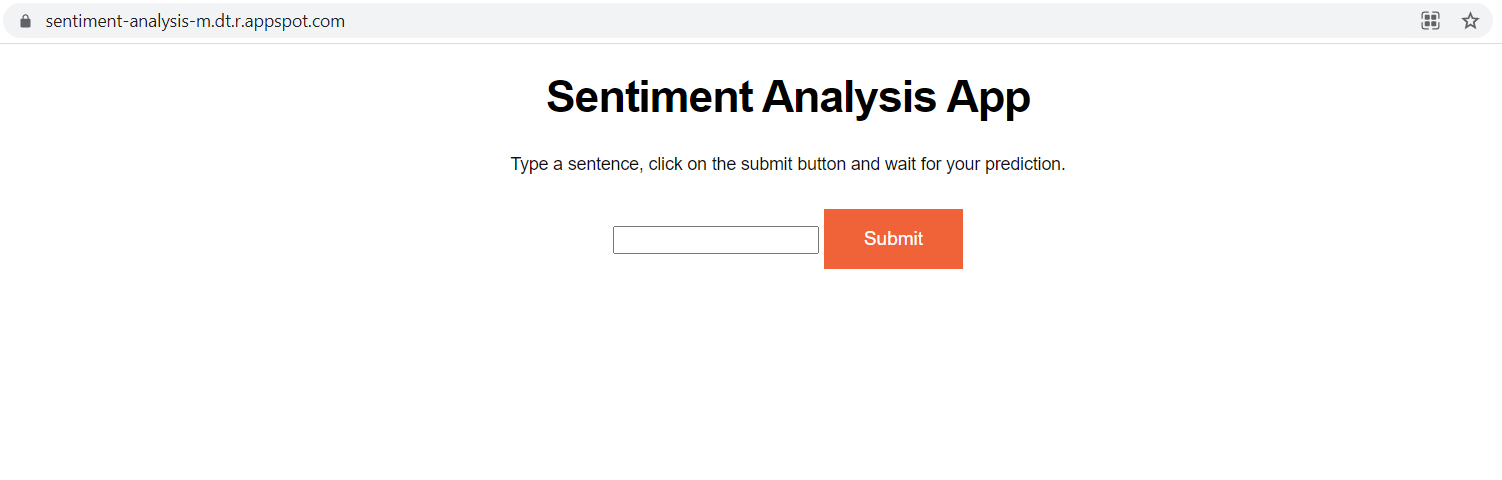
13. Type 'gcloud app browse' into the terminal once the deployment is complete. You will automatically be navigated to your app location on Google Cloud. This is mine.
If everything works well, you should see your app deployed on custom a URL like this:
If you made it until the end, congratulations! You have successfully deployed your first application to Google Cloud.
If you are put off by GCP's requirement to enter credit card information for a free trial, then you can try a different platform. I will create more tutorials in the future covering model deployment on platforms like AWS and Heroku.
That's it for this tutorial!
I hope you enjoyed this article and was able to learn something new from it.
Good luck with your data science journey, and thanks for reading.