Deploy your machine learning web app to Heroku
A step by step guide on deploying your Flask web application to Heroku

In an article I wrote previously, I walked through the steps you can take to build a machine learning web application. I provided some code to build the web app in Flask, and explained model deployment with Google Cloud Platform.
However, many learners are unable to get an active subscription to GCP because they are required to enter their credit card information to get a free trial. Without a subscription to GCP, it isn't possible to use their resources and deploy the machine learning app.
In this tutorial, I will walk you through an alternative method of deploying your web application.
We will deploy the same web application in the previous tutorial, but this time using Heroku.
Heroku is a cloud platform that allows developers to build and run applications entirely in the cloud.
Their free-tier allows you to host up to five applications on their platform, and is a great way to quickly deploy lightweight machine learning models.
Here is a link to the GitHub repository. There are two files here, main.py and index.html.
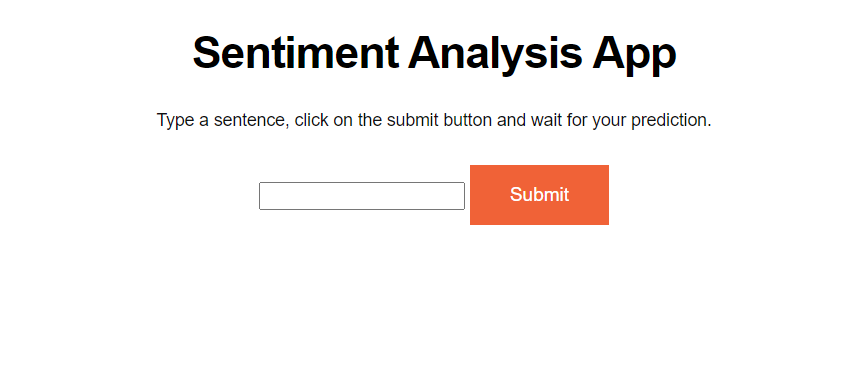
As I explained in the previous article, the index.html file is a simple front-end interface that will allow users to interact with our model. The app.py file contains our Flask application where the model resides.
For further explanation on how the app works, please read this article.
Now, you can clone the GitHub repository and run the Flask app.
If everything works well, you should see the app show up on your screen:
We can proceed with deploying the model on Heroku.
Step 1
First, you'll need to sign up to Heroku and create a free account.
Once that's done, download the Heroku CLI to your device and run the executable file.
To make sure everything works, navigate to your command prompt and type the following command:
heroku --versionYou should see heroku/x.y.z in the output:

Step 2
Navigate to the directory where your app resides:

Then, login to Heroku using the CLI with the heroku login command:

You will be navigated to a screen that looks like this:
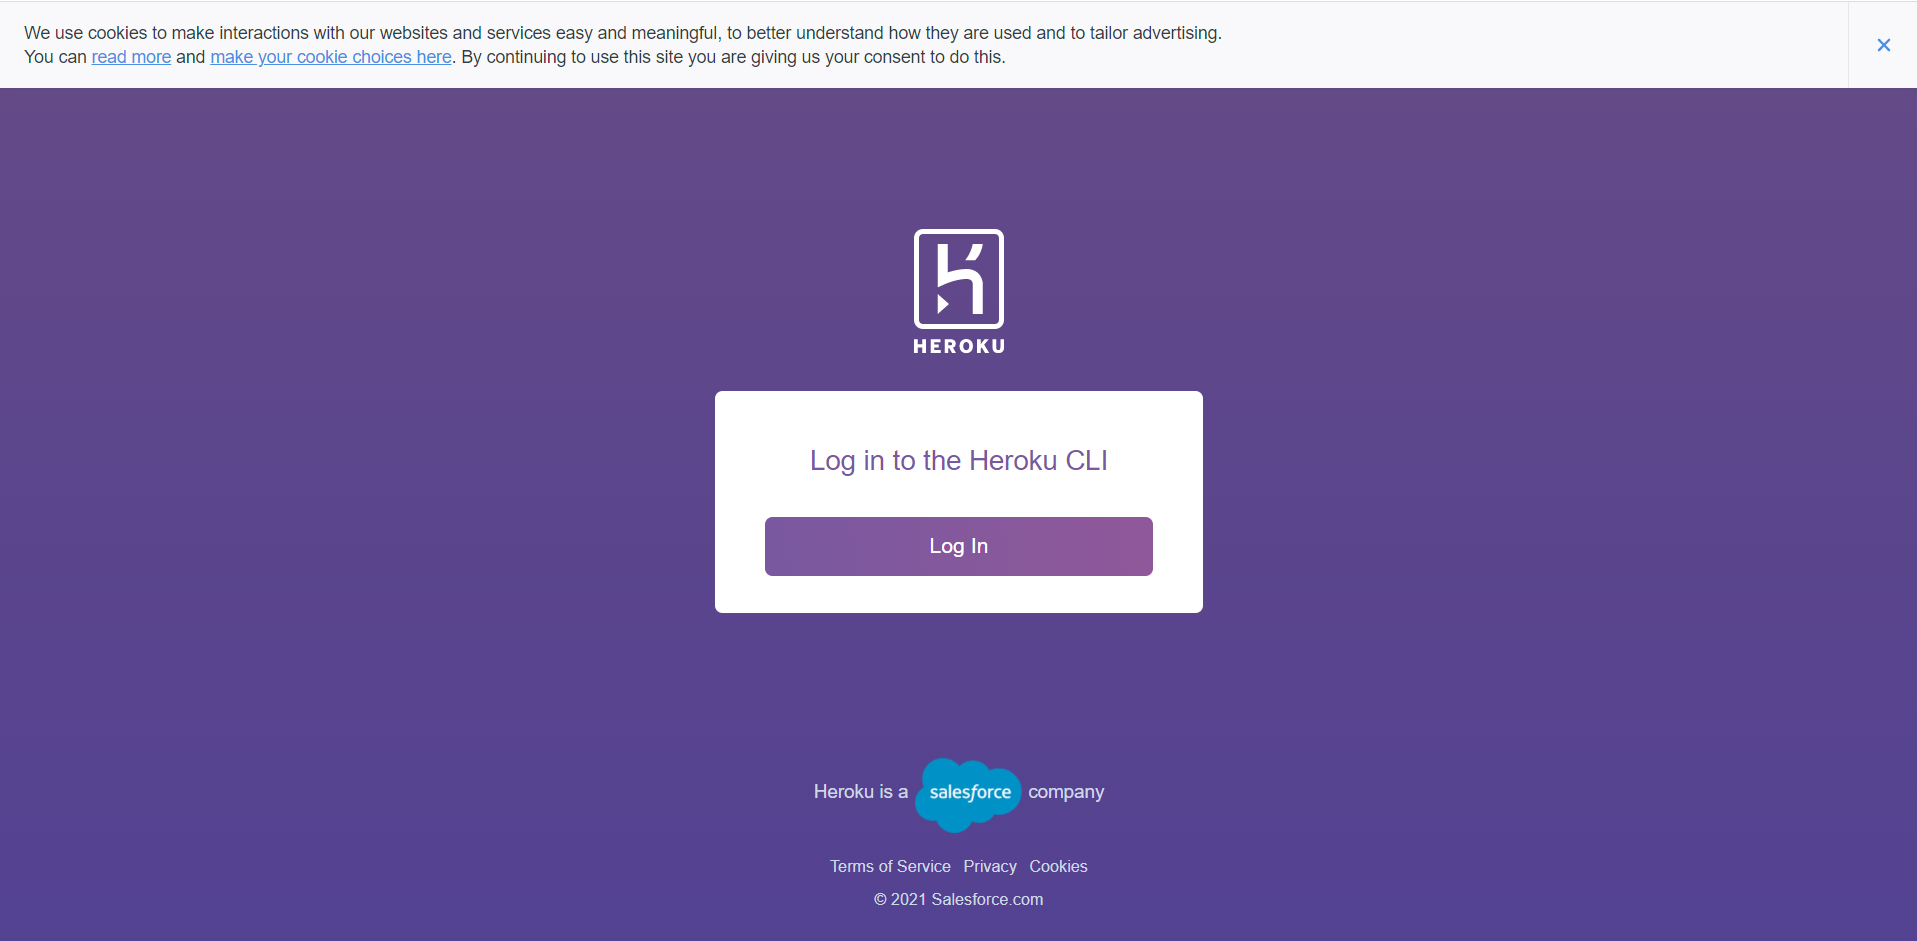
Just click log in and you will be redirected to the command prompt.
Step 3
In this step, you need to create a text file called requirements.txt. Add the following dependencies into the file and save it:
pandas==1.3.2
nltk==3.6.2
gunicorn==19.9.0
Flask==2.0.1
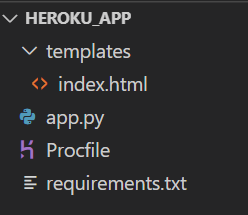
Next, you need to create a Procfile. Type the following command into your command prompt:
echo web: gunicorn app:app >ProcfileNow, we have all the files we need for deployment to Heroku. Make sure your directory structure looks like this:
Step 4
Now, we need to create our app on Heroku by running heroku create your_appname in your command prompt. You can choose any app name you like as long as it hasn't already been taken. In my case, I ran the following command:
heroku create senti-ml-app
We then need to add and commit our code to Git. To do so, run:
git initgit add .
git commit -m "first commit"Finally, run:
heroku git:remote -a senti-ml-appMake sure to change the app name to the one you created earlier.
Once that's done, we can deploy our app to Heroku with the following lines of code:
git push heroku masterWait for a few minutes until the build is complete, then navigate to the URL where your app resides. Mine is here.
That's all for this article!
If you faced issues at any step of the deployment process, you can find the reason for the error by typing heroku logs --tail on your command prompt.
I hope you learnt something new from this tutorial, and thanks for reading.